Showing posts with label interior design. Show all posts

Friday, February 26, 2016

The Big Reveal...My Home Office


Here it is! My home office! I completed it this week, with my dad's help, and I love it! I've been working in the space for a little over a week, but I wanted to hang a few things before I showed you all the final product. I think it's perfection. Keep reading to get all the details on how I pulled this space together.


As you know, this is what the space looked like before I got started. I loved this space, for it's original purpose, but I needed a place to call my own. A space where my laptop wasn't always on my lap. Where I wasn't using my coffee table as my daily desk top. I place where I felt like I was a little more organized while still being a part of the daily family grind.


I was inspired by this HomeGoods Instagram photo when I starting thinking about my initial design scheme. I loved the mix of colors and eclectic design. I started my search at our local, and favorite, antique store, but never really found what I was looking for. We went to a couple of other local places, but again nothing screamed "take me home." My first purchase was the black writing desk from Target. I blogged about it in my original Wednesday Wants and it was honestly the best fit!

My mom and I actually got the bulk of the room from HomeGoods. After we had the desk, I knew I wanted to add fun pops of color to contrast against the black. I literally set up a space in the aisles of HomeGoods and loved getting feedback from others who passed by. It was all very favorable. I was heading in the right direction! Yellow and gray is one of my favorite color combos and the touch of blue just pulled it all together. 

My dad was the painter. He insisted. I told him I would help, but he said it was a small space and a one person job. I let him do it. I wasn't going to argue. I love the color. It's Winter Solstice from Benjamin Moore and I find it to be such a soothing shade of gray. 


As for the accents on the desk, I didn't want a lot. It's not a huge space to begin with, but I wanted to make it personal. A letter "A" for obvious reasons, a sweet reminder of needing daily glitz from my friend Julie, a candy dish for moments of weakness, a coaster, and fun pens in a cute holder rounds it out.


The knobs that came with the desk were perfectly fine, a brushed nickel that goes with the rest of the room, but I wanted something a little more me. I went with vintage inspired crystal knobs and they are simply divine! The yellow cabinet is actually my parents, a piece I have coveted for years, and when they couldn't make it fit in their house, I basically stole it from their basement! It's the perfect place to hide all my clutter. Printer paper, extra catalogs, and other work necessities all fit neatly behind closed doors. And, the rustic piece is lovely!


In addition to the mirror, a style I've always admired, I knew I wanted to add a few extras to the wall. I decided to frame my first catalog with the company. I wanted something to remind of where I started.


And lastly, my daily motivation! Who doesn't need a little something to keep them going in the right direction, even if they feel as though they are running off track! This saying resounds with me. In taking my Leap, I believed I could, so I did! 


And there you have it! My home office. What do you think? Did I nail it? I totally believe I did! It's everything I thought it could be and more. I'm happy here. I feel motivated to work from here daily. And I find I could stay here long past the time I need to take McKinley to school or head to bed at the end of the night. I've finally found my space!

It's Friday!! We have another full weekend and I can't wait to get started. I hope you all have a fashionable weekend that brings you joy!

See back here on Monday!
Muah!

Monday, February 1, 2016

My Home Office Reno

Things are really starting to take shape in the home office reno department. My mom and I have been shopping for my desk, chair, and other accessories to help the space pop. I'm really going for it in the color department, something that will make my office a cheerful space on a daily basis. I purchased the paint over the weekend and can't wait to start putting it on the wall. But before all that, my dad has been working on some minor wall repair. We had a leak from my husband's shower last year and it did a little damage to the corner of the wall. Nothing big, but enough to get it fixed. And after that, it will be time to paint. I'm so excited!!

Remember back to the photo of the space in my den that I'm going to make my office?


Well, I thought I would share a little more insight into my current working conditions so you can see why I'm in need of an "office". My den is long and narrow, but bright and homey. However, the space where I work isn't really all that conducive to working. Here is the other half of the room from where I will eventually work.

This is my current desk! It's my coffee table. And as you can see, it's really a large piece of furniture that allows me to spread all of my stuff out and really dig into work. Did you hear the sarcasm dripping out of that statement?


And don't you love my computer stand? The floor is the perfect place to print from, right?


So you can see why I need a space of my own? This isn't an office. This isn't a motivational place to get my juices flowing. This is a place where I lose focus. Where I get lost. And I can't wait to move over to a place that gets me excited!

Here is a glance into the colors of my space. I'm in love!


As for the wall color, you all know I'm dying to have a gray room, so I'm going with a gray accent wall. I love the color of my nails, Essie Petal Pushers, and it was a bit of inspiration when choosing a color! However, I decided it might be a little dark for the room, so I went with Winter Solstice. Love!


And that's it! My home office space, color scheme, and wall color. Again, it's taking shape, from a visual standpoint, and it will start taking muscle shape this week! Stay tuned for more updates!

Happy Monday!

Thursday, December 17, 2015

Home Office Inspiration


Last week I blogged about how I wanted to create a small home office in a very small space in our den. I haven't stopped thinking about it and now I have my mom thinking about it too! She loved the accent wall paint color and the writing desks, her favorite was the one from Target, and is ready to help me tackle the project. Maybe after the first of the year. We could all use a stir-crazy project, right?

In the meantime, I've started looking at the decor of the space. My inspiration is the photo from Home Goods that I found on Instagram. Isn't the space gorgeous? I love the dark navy wall and the punch of colors! So cheery and so chic! And, as it turns out, my parents have an antique yellow cabinet that I've always had my eye on! It would look great and be the perfect place to store catalogs, papers, and other items you don't really want out and about for clutter. One piece down!

As for the chair in my space, I'm thinking something along the lines of an accent chair instead of an actual desk chair. First off, the space isn't really an office, and I think an arm-less chair would be more cohesive with the rest of the decor in the den. The thing I need to keep in mind, is that it needs to be tall enough for me to actually sit comfortably at the desk. If I could find something from an estate sale or antique store and reupholster in the fabrics I posted last week, that would be ideal! If not, I'm loving the ones below.


1/2/3/4/5/6/7

Now, when looking at the photo and my picks for some pieces I think would be a good fit for me, I know the pink chair looks completely out of place, but I happen to love it! I don't know what's gotten into me as I've gotten older. I've never really been drawn to pink, but this bubble gum piece is darling!

As for the starburst mirrors, I have always wanted one! In my little nook in our living room, just behind our front door, I have this antique wash table with a wooden oval mirror above that. I would love to replace it with a starburst version, but my little office would look perfect with one as well! And, it would be specific to me. Oh, and the little table lamp is so cute! I love the legs. Such a unique piece for such a special space!

What do you think? Is it taking shape in your mind? It is in mine! I honestly think this could be the one place in my house that I can finally call mine! Sure, I've decorated the rest of my house based on my own personal style, but I've always kept my husband in mind. But now, this little area could be all for me!

If you were creating a space like this, what would you use? Would you go with a pink chair or starburst mirror? I think you should! 

Photo courtesy of Home Good's Instagram page!

Wednesday, December 9, 2015

Wednesday Wants - A Home Office

I am trying to start a business. I'm not sure I've really talked about it here, but about a month ago I signed up to be a Stylist with Stella & Dot. It's the perfect business for me at this point in my life. I want to work, need to work, but I don't want to work in an office building where I'm there 8:00-5:00. I want to set my own hours, work when I want to work/can work, and make money while doing so. With Stella & Dot, you do just that. And, within the two months, I've been fairly successful. At least in my eyes I have.

But one can't really have a business without a space to conduct it. I could work out of a coffee shop while McKinley's in school, but that's not really efficient. I would be spending money on coffee when I could have my own brewed coffee at home. And I'm such a people watcher, I would probably spend all my time doing just that! I'm not going to rent space to work in because I'm not at a point where I can spent that kind of money. And, sitting on my couch in the den and working from my wicker coffee table isn't all that great either. It gets the job done for now, but I need a space that I can call mine and spread things out when needed. And, I could really use an office for my blog as well. It's a two fold office!

We don't have an extra bedroom in which I can turn into an office, so I'm thinking of working with a small space in our den. I would still be a part of the day to day life. In sight of McKinley when he needed me, could have on my TV for that background noise I need on a daily basis (I don't really watch it, it's just there for noise), and it's really all the space I need for the time being. 


So here's what I'm thinking of doing over here. Taking out the two chairs and bookcase and place those in storage. If we were to ever move, they would be needed in the next house and I love them too much to part with them. I would paint the back wall an accent color like Durango from Benjamin Moore. I've always wanted a gray room and the color would compliment the Antique White we have in the rest of the room. And, I think having an accent wall would help define the space. From there, I would start building the office with furniture that compliments the rest of the room. Here's what I've come up with. I started with the desk as that's the focal part of the office and where most things get accomplished.

 
1/2/3/4/5

I checked out a couple of new interior sites like One Kings Lane and Joss and Main and I like what I saw! I looked at my favorite designs like Mid Century Modern and Shaker, but I also looked at a few glam pieces like number five! I mean, what girl doesn't a full on mirrored writing desk. Oh, and that's what I chose, writing desks. I didn't feel like I needed a huge desk within my small space. I love all of these.
My color pallette will probably run in the reds, but I do love yellow! I've always wanted a gray and yellow room so who knows. These swatches are from Joann's and they're gorgeous!

So what do you think of my ideas? Do you have a home office or looking for a space within your home to create one? Let's go on this journey together! There are so many things to address from here!

Wednesday, October 21, 2015

Me and SJP

My mom and I are big antique shoppers and recently we've have added estate sales to the mix. McKinley enjoys it too. He just hopes there will be trucks for sale and he's been on the receiving end of quite a few! 

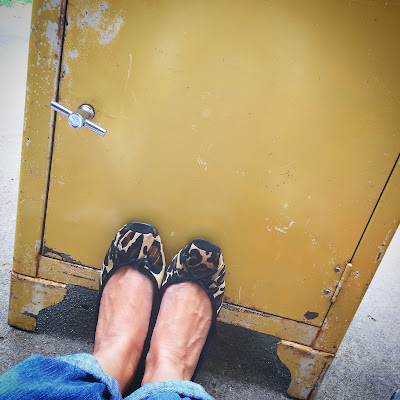
On a recent antique shopping spree, my mom and I stumbled on this beauty! So what if it's covered in rust and has chipped paint throughout most of the surface? I knew it would be something gorgeous in the end! And I was right! It took some elbow grease to achieve, but it was totally worth all the work!


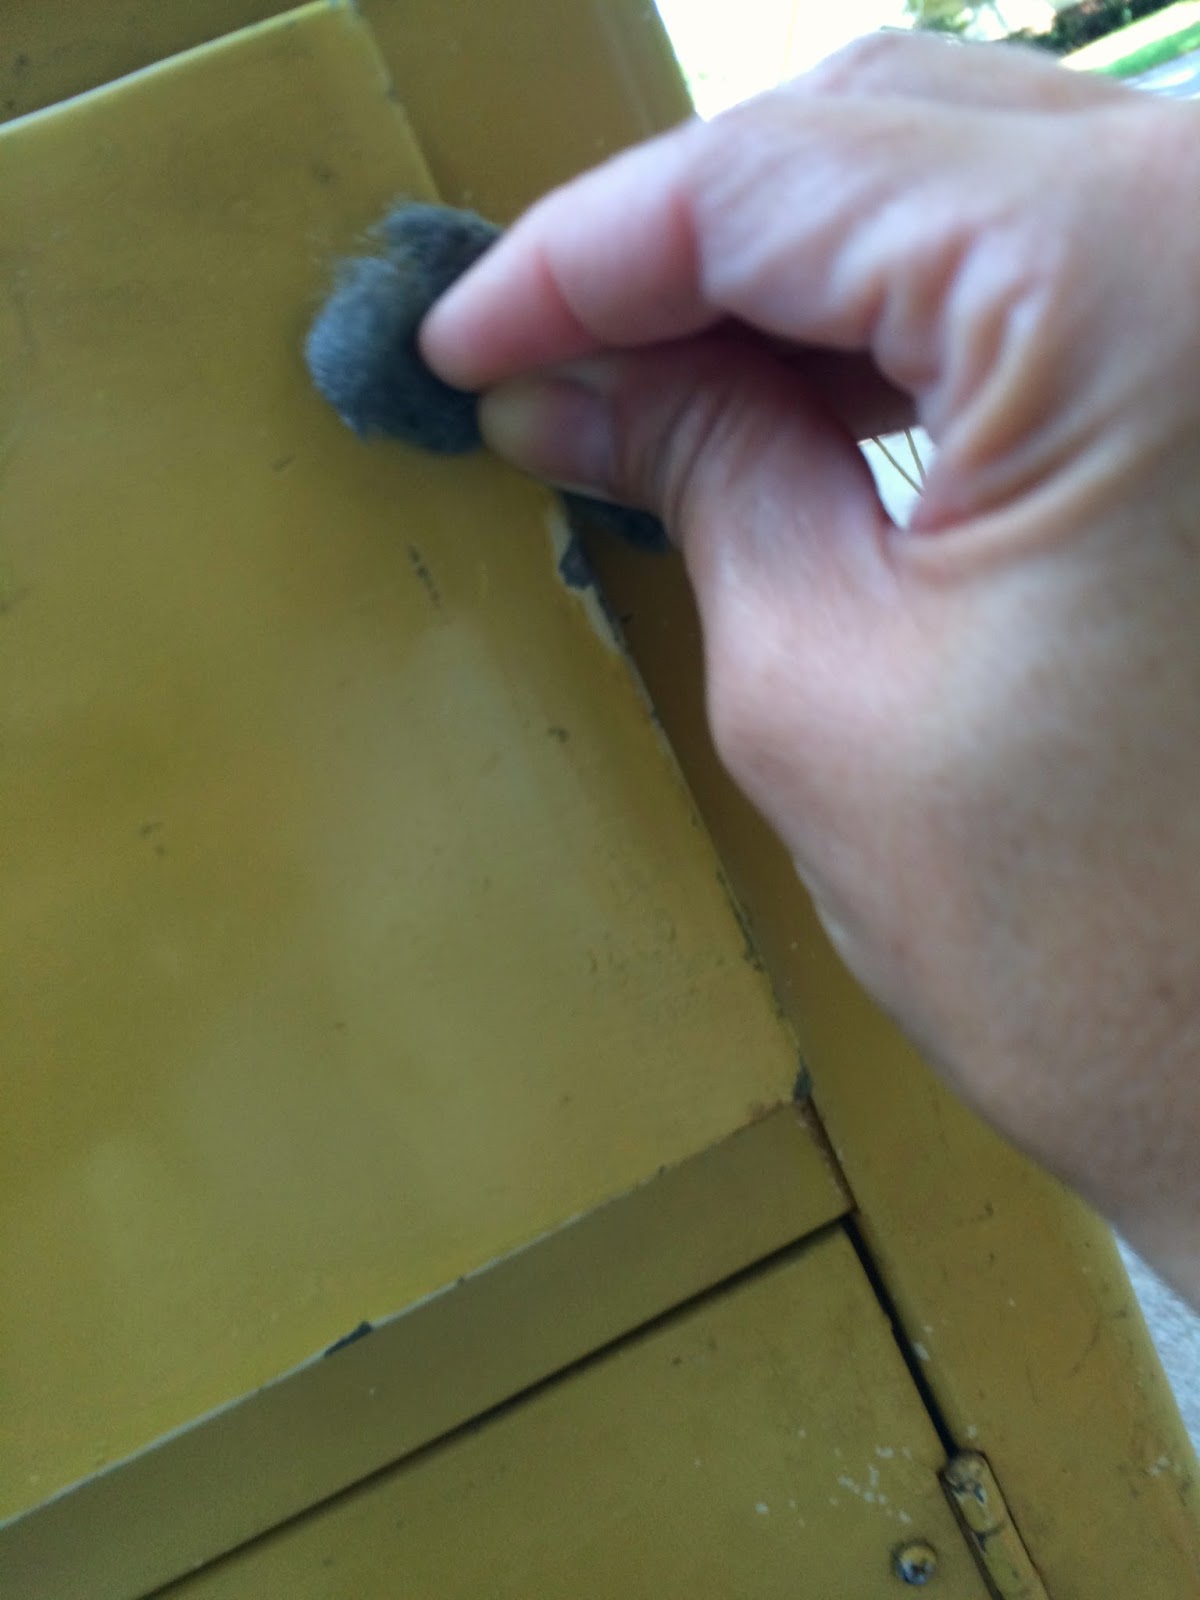
I used fine steel wool and scrubbed for hours! After that, I went over it with Clorox wipes and a clean rag.


This is the shelf from inside the cabinet. Yes, it's covered in rust and what I assume are paint can rings. This took some work!


I covered all the areas I didn't want painted in blue tape. The cabinet top is stainless steel and in excellent condition. The handles are stainless steel as well, but not in as great condition. There was a little rust here and there, but they buffed up nicely.


It was finally time to paint. I used Rust-Oleum in Eden. I wanted to give a nod to the era and Avocado green was the perfect choice. I also used a new tool This is a little nozzle that fits over the sprayer of the paint can and makes your live so much easier! And, I didn't walk around with a green paint finger for days.


And here is the final result! It is the perfect fit in my kitchen and the color is amazing! I am in love!


Now, this isn't what sold me on the piece, I loved it from the minute I spotted it, but there was a little sign was attached to the cabinet. It showed that Sarah Jessica Parker has the exact same cabinet in her bathroom! That's right, SJP and I have the same piece in our house. I love mine more, but they are equally beautiful. 

What do you think? To me, it's a little treasure! And it totally fits my interior style. Can't wait to see what my next piece might be! 

Tuesday, September 29, 2015

My DIY - The Vintage Hand


Years ago I was a young entrepreneur who had her own jewelry business. I designed, made, and sold my own pieces. I rented booth space for two years at the annual Overland Park Arts and Crafts Fair, I sent out monthly newsletters to my customers, held home parties, and consigned pieces with two boutiques. After several years of sporadic sales, and becoming a repair shop for pieces that weren't mine, I decided to close shop. I loved it and wanted to to become so much more, but in reality, I just didn't have the man power (or funds) to grow it.

My booth decor was very vintage inspired. I hung pieces from antique jewelry boxes, wrought iron stands, and this vintage ceramic hand. It was one of my favorites and my rings looked darling dangling from the funky piece. It's actually one of the only pieces I kept. I've tried incorporating into my bedroom several times, but the white and pink dots just simply clashed. Then I got the brilliant idea to paint it gold! Where this idea was five years ago is beyond me!

So ran to Michael's and picked up a couple of tiny cans of gold spray paint and got to work. 


At first I was worried about the polka dots. They're raised so I thought I might take sandpaper and try to sand them down. But then I feared I would completely ruin the piece. So I painted right over them. The result, cute! I don't mind the dots and they aren't nearly as distracting as I thought they would be. I love it! It took two coats and a thorough exam to make sure all the white had been covered. In between the fingers was where I found most of my missed areas.


I love how it looks with all my other pieces on my dresser. It really does compliment the rest of the decor. And I love how it showcases some of my favorite rings!


I love that paint is such a simple way to turn nothing into something! A piece I almost parted with, because I couldn't make it work in it's original state, gets a little face lift while adding a sophistication to my dresser. 

Are there pieces in your home that you've looked at time and time again and thought it needed a little upgrade? Share with us what it was and how you made it new again. I love breathing new life into tired things. 

And I promise, we're still working on the chair. It's slow going when you only get a day here or three hours there. I hope to have it completed by the end of the year. As for the bar? I have a few finishing touches to add and will be sharing it with you all soon!

Tuesday, June 16, 2015

My DIY - The Elegant Chair Journey Continues

As of last week, I had sanded the whole chair in hopes of removing any protectant coat that existed and to get the sheen off the whole chair. I also wanted to try and remove a little of the paint but not take it down to the bare wood. After everything was sanded, I ran tack cloth over the whole chair to remove any dust particles and other remnants from the dusting. Now it's time to start removing all staples and tacks from the chair. This took two days!!


I didn't have the appropriate tools for the job so I used a screwdriver and a pair of pliers. They worked, but I could have really used the correct tools. On a beautiful afternoon, I took the chair outside to our back patio and started prying staples loose with the screwdriver and pulling them out with the pliers as McKinley played in the garden. I pulled screws out for about an hour and a half, making sure to keep the fabric free of rips. You need to keep all pieces of the chair as you remove them. They will be your template when re-upholstering later. I even took pictures during every step so I could reference them as well. Eventually, McKinley grew weary of my work. I decided to call it quits for the day. In that time, I had removed the entire bottom of the chairs upholstery and all the staples and tacks. I felt good about the progress.


This is the bottom of the chair. 


These are the original springs. Each one is wrapped in muslin and in perfect condition. (Even McKinley wanted to get in on the action!)


I then took the chair over to my parents house a couple of days later to continue the process. Turns out, my mom had all the right tools for me to use, but because the staples were so small, it didn't really work all that well. I really needed a smaller head screwdriver, but I continued to plug along. On that day, I pulled all the staples and tacks from the remainder of the chair, but I had the entire interior of the seat of staples to pull. I sweet talked my dad into assisting me and he spent the rest of the evening finishing the dirty work! My finger pads were raw and my hands were cramping. It's really hard work. And, I worked up a lather of sweat both days. It doesn't appear like hard work, but let me tell you, it is! 


So now I have a bare chair that's in need of color! Time to start painting. The chair has now made it's way back to my house and has taken up shop in my garage. After the first coat of paint, I was in love! And I got wise. No more crawling around on the garage floor trying to get all the angles of the chair. I decided to put it on a table. A wise move let me tell ya! After the second coat of paint, I realized it was definitely going to need a third. But, I decided not to apply the third coat to the entire chair. Just the arms and legs since they would be the ones visible post re-upholstery. And it's gorgeous! Glossy, jet black, and totally renewed! I am in love!


Now it's time to start the upholstery and I'm terrified! My mom is the expert here, so I'm going to lean on her for guidance! We have the fabric, this amazing floral print that's unbelievably stunning (in my personal opinion), and we have plenty to play around with. It was pretty cut up when we took it to the cutting counter so we decided to just buy what they had. It was 50% off that day, and I had an additional coupon, so we got a great deal! We just need to lay out the fabric and decide where we want to place it on the chair and cut for optimal floral placement. This could take a while!


I will keep you posted on how things are going and take pics along the way of the upholstery. Not sure how this will go, but so excited to get started. My husband had no idea that I was going to tackle the actual upholstery work myself. He figured I would have it sent off. And I might, if this thing gets too big for us. But, I'm hoping that I can finish what I've started. And I hope it looks as professional as possible. Fingers crossed!

In the meantime, I'm now the proud owner of a vintage aluminum rolling cart. It's bright yellow and in awesome shape. I'm thinking bar cart! Can't wait to get started on that too and share it all with you.

Are you guys working on anything this summer? If so, let's chat. I love hearing about your DIY projects!!

Tuesday, June 9, 2015

My DIY - The Elegant Chair

A little over a month ago, I hosted a garage sale to rid my house, and my life, of stuff. And believe me, have stuff. On that Friday morning, I looked out my window to see cars lined up outside our house. I thought gold mine! Everyone was here for my garage sale. Then I walked outside. The people in cars, and people outside, were lining up for the estate sale that was taking place next door. Okay, so they weren't here for me, but I didn't reap the benefits of their sale. As folks were heading there, or heading out, they always stopped by and eventually I was down to nothing by Saturday afternoon. I was a happy garage sale hostess!

But the downfall of the estate sale next door was that my mom and I shopped....a lot! She purchased mostly glassware and I walked away with a 1960s arm chair. And a dress. The dress is simply amazing. Definitely Rachel Zoe inspired, in my mind, and it's at alterations now. Can't wait to sport it soon and share this vintage gown. Did I mention it's a gown? Back to the chair. After spotting the dress, I spotted the chair. It was sitting there among all the clutter that goes with estate sales, but it definitely caught my eye! And I knew it wouldn't stay its current state. It would be transformed to this stunning piece of furniture that I would eventually sell. I got the chair the for half off. I waited until the final sale day to purchase. If the chair was still there, it was meant to be. And, on Sunday, everything was 50% off. And after much thinking, and conspiring with my mom and what I could do with the chair, we rearranged my house in order to make it fit. That's right, I am keeping the chair!

Here is my chair! My dad calls it my "elegant chair" and I think he's right. I've got big plans for this piece. I only hope it turns out like I think it will in my head. 


 And here are some of my early supplies. Fine sandpaper, fine steel wool (in case I need to go over it again once I've sanded), and my awesome paint color with a new brush. Not pictured, tack cloth. I asked my dad what was the best method to remove dust from the chair post sanding and he said this was the best stuff. It's tacky and it totally did the trick.


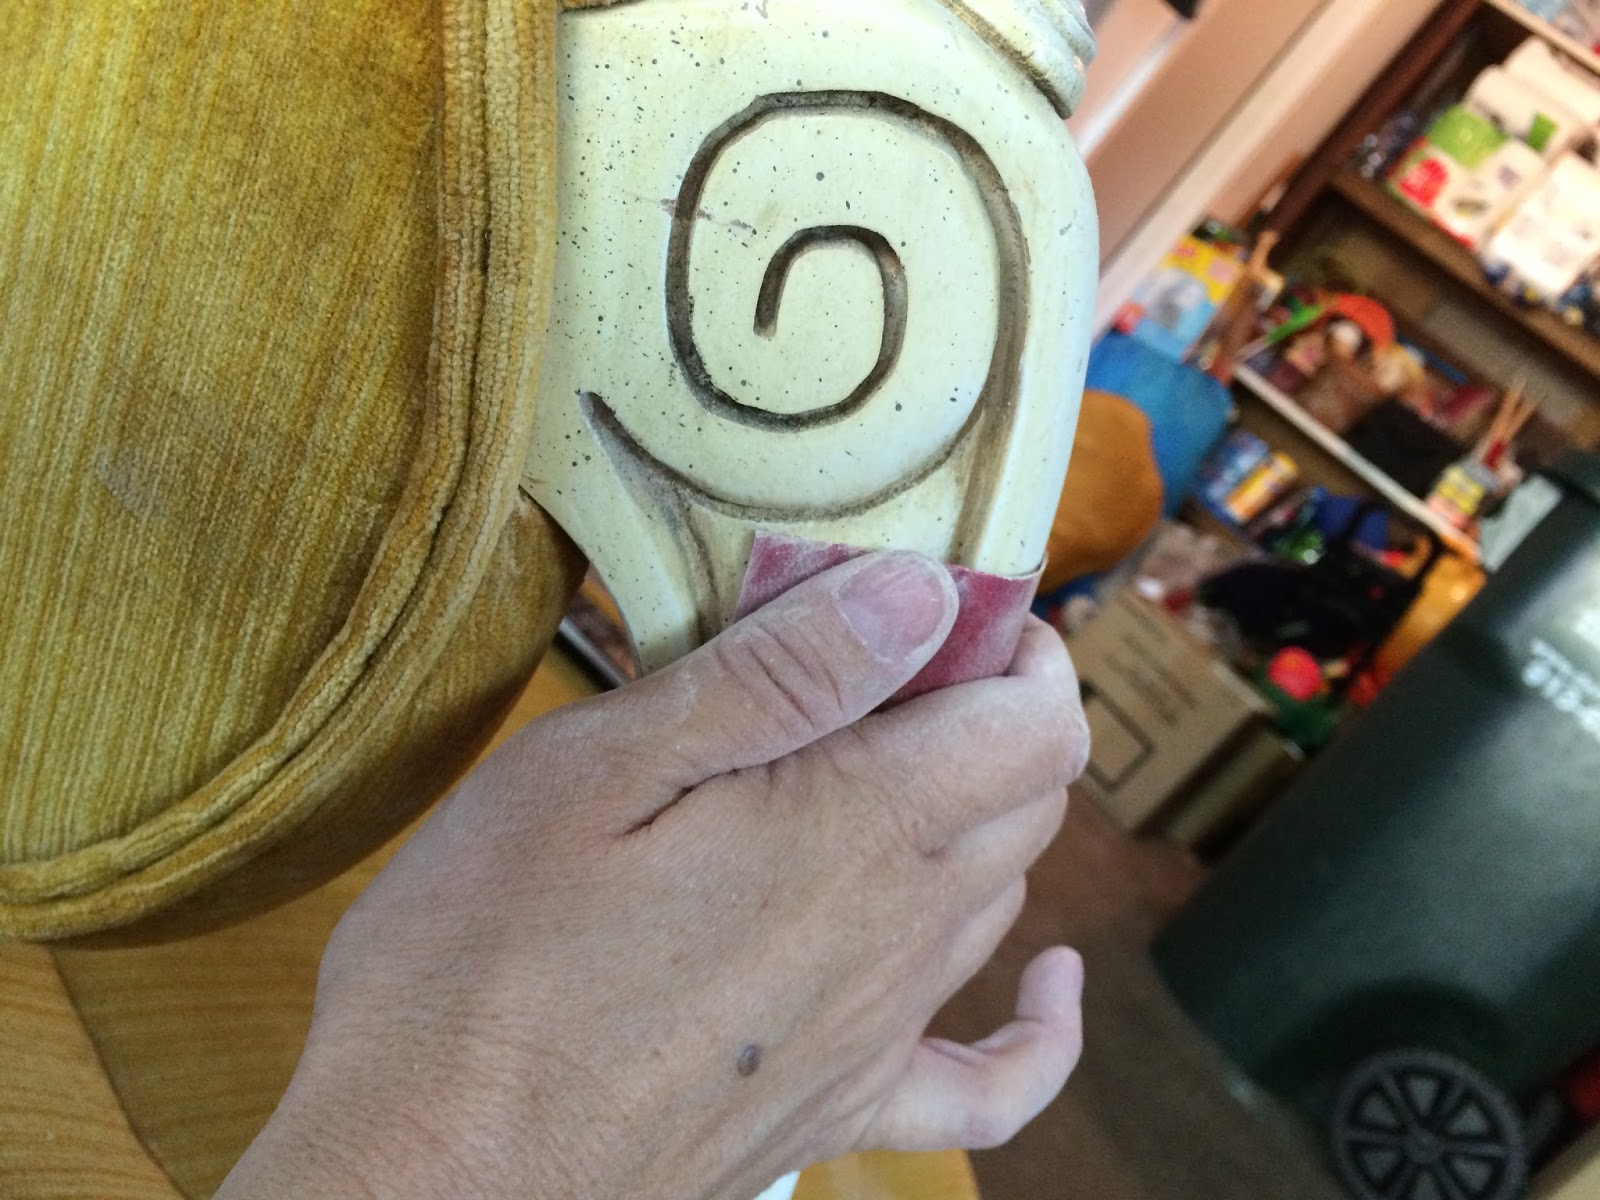
Here are some small details about the chair. It contains a ton of little grooves that needed sanding and were hard to get to. Imagine trying to paint them! Rough...no pun intended. 


So I just got to sanding. I didn't want to take it down to the raw wood. I just wanted to get the sheen off of the original paint. In the end, it was never super rough. There was a little smoothness to the wood. I wasn't sure I could ever get it off.


So I've sanded. And I've sanded and I've sanded. I've been covered in dust, in need of a manicure, and loving every moment spent working on this piece! Now it's time to start removing all the upholstery from the chair. Dear God, the staples and tacks that are involved.... Can't wait to share it all with you!

Stay tuned. Next week the elegant chair journey continues!