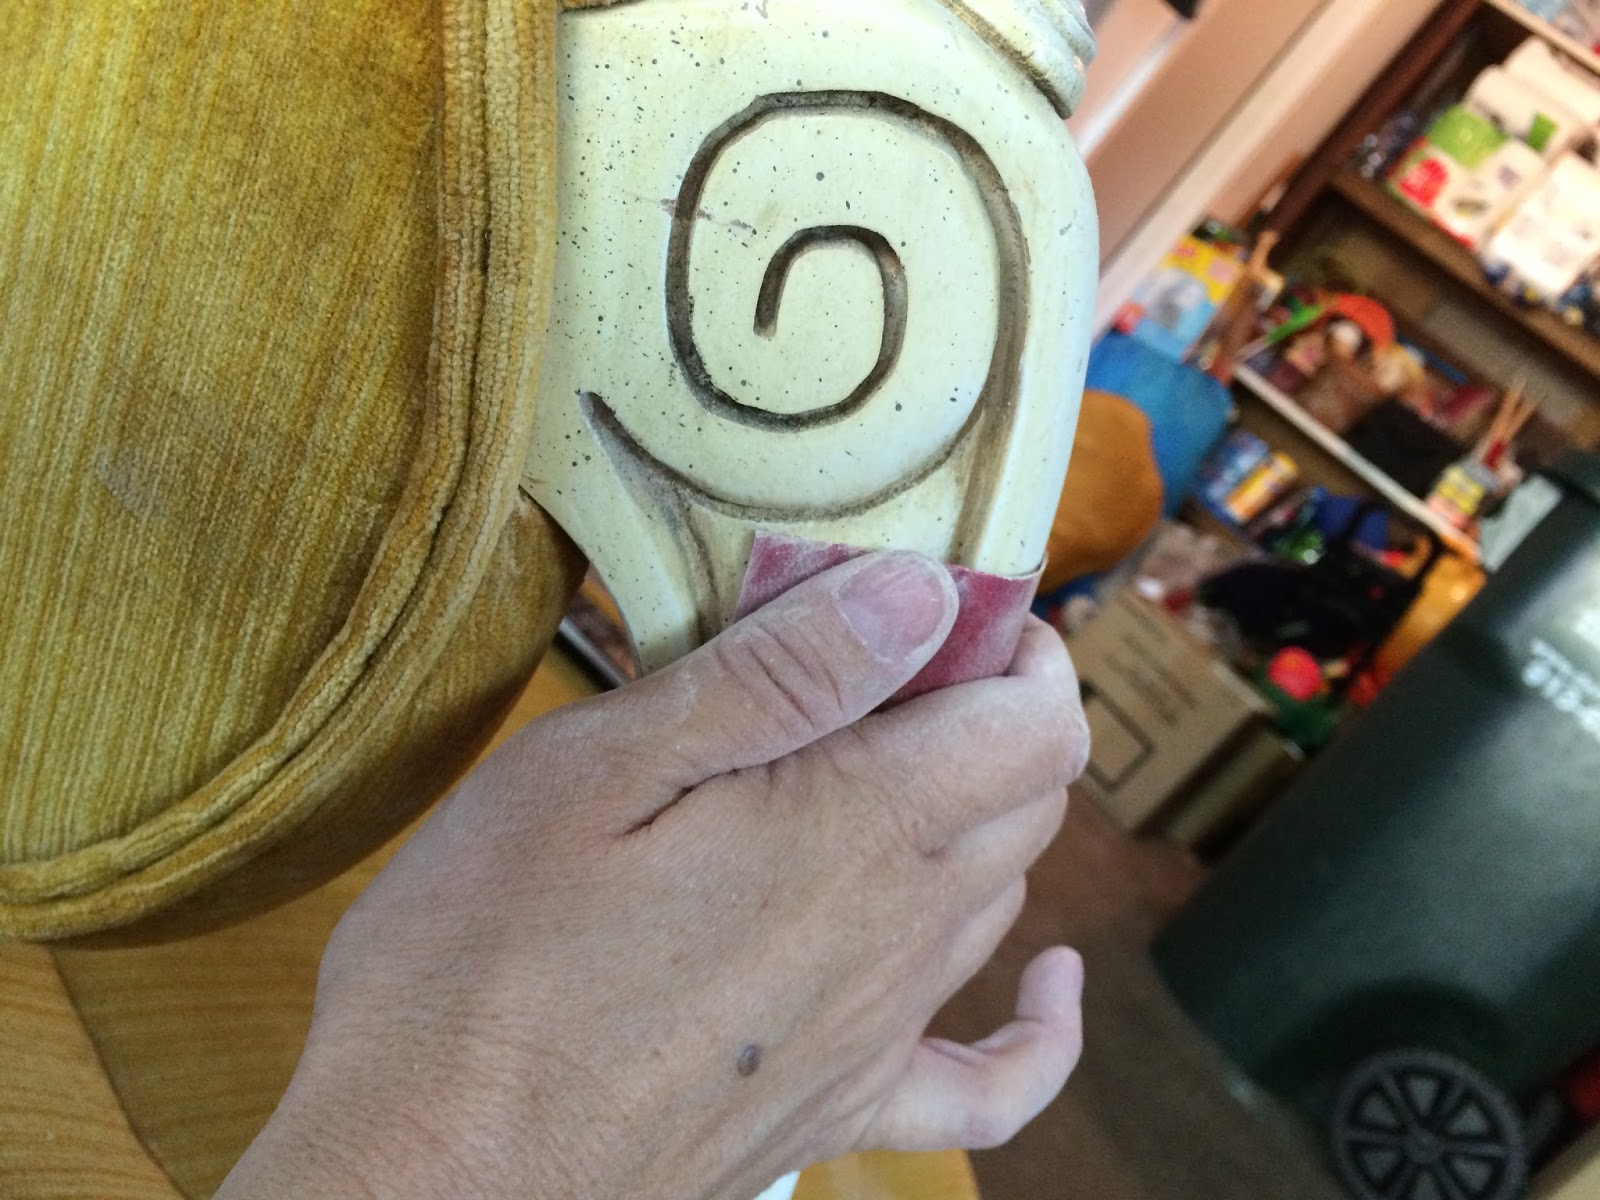
As of last week, I had sanded the whole chair in hopes of removing any protectant coat that existed and to get the sheen off the whole chair. I also wanted to try and remove a little of the paint but not take it down to the bare wood. After everything was sanded, I ran tack cloth over the whole chair to remove any dust particles and other remnants from the dusting. Now it's time to start removing all staples and tacks from the chair. This took two days!!

I didn't have the appropriate tools for the job so I used a screwdriver and a pair of pliers. They worked, but I could have really used the correct tools. On a beautiful afternoon, I took the chair outside to our back patio and started prying staples loose with the screwdriver and pulling them out with the pliers as McKinley played in the garden. I pulled screws out for about an hour and a half, making sure to keep the fabric free of rips. You need to keep all pieces of the chair as you remove them. They will be your template when re-upholstering later. I even took pictures during every step so I could reference them as well. Eventually, McKinley grew weary of my work. I decided to call it quits for the day.
In that time, I had removed the entire bottom of the chairs upholstery
and all the staples and tacks. I felt good about the progress.


This is the bottom of the chair.


These are the original springs. Each one is wrapped in muslin and in perfect condition. (Even McKinley wanted to get in on the action!)

I then took the chair over to my parents house a couple of days later to
continue the process. Turns out, my mom had all the right tools for me to
use, but because the staples were so small, it didn't really work all
that well. I really needed a smaller head screwdriver, but I continued
to plug along. On that day, I pulled all the staples and tacks from the
remainder of the chair, but I had the entire interior of the seat of
staples to pull. I sweet talked my dad into assisting me and he spent
the rest of the evening finishing the dirty work! My finger pads were
raw and my hands were cramping. It's really hard work. And, I worked up a
lather of sweat both days. It doesn't appear like hard work, but let me
tell you, it is!


So now I have a bare chair that's in need of color! Time to start
painting. The chair has now made it's way back to my house and has taken
up shop in my garage. After the first coat of paint, I was in love! And
I got wise. No more crawling around on the garage floor trying to get
all the angles of the chair. I decided to put it on a table. A wise move
let me tell ya! After the second coat of paint, I realized it was
definitely going to need a third. But, I decided not to apply the third
coat to the entire chair. Just the arms and legs since they would be the
ones visible post re-upholstery. And it's gorgeous! Glossy, jet black,
and totally renewed! I am in love!

Now it's time to start
the upholstery and I'm terrified! My mom is the expert here, so I'm going
to lean on her for guidance! We have the fabric, this amazing floral
print that's unbelievably stunning (in my personal opinion), and we have
plenty to play around with. It was pretty cut up when we took it to the
cutting counter so we decided to just buy what they had. It was 50% off
that day, and I had an additional coupon, so we got a great deal! We
just need to lay out the fabric and decide where we want to place it on
the chair and cut for optimal floral placement. This could take a while!

I will keep you posted on how things are going and take pics along the way of the upholstery. Not sure how this will go, but so excited to get started. My husband had no idea that I was going to tackle the actual upholstery work myself. He figured I would have it sent off. And I might, if this thing gets too big for us. But, I'm hoping that I can finish what I've started. And I hope it looks as professional as possible. Fingers crossed!
In the meantime, I'm now the proud owner of a vintage aluminum rolling cart. It's bright yellow and in awesome shape. I'm thinking bar cart! Can't wait to get started on that too and share it all with you.
Are you guys working on anything this summer? If so, let's chat. I love hearing about your DIY projects!!