Showing posts with label aluminum. Show all posts

Wednesday, October 21, 2015

Me and SJP

My mom and I are big antique shoppers and recently we've have added estate sales to the mix. McKinley enjoys it too. He just hopes there will be trucks for sale and he's been on the receiving end of quite a few! 

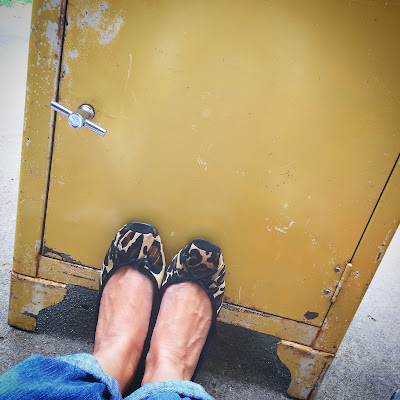
On a recent antique shopping spree, my mom and I stumbled on this beauty! So what if it's covered in rust and has chipped paint throughout most of the surface? I knew it would be something gorgeous in the end! And I was right! It took some elbow grease to achieve, but it was totally worth all the work!

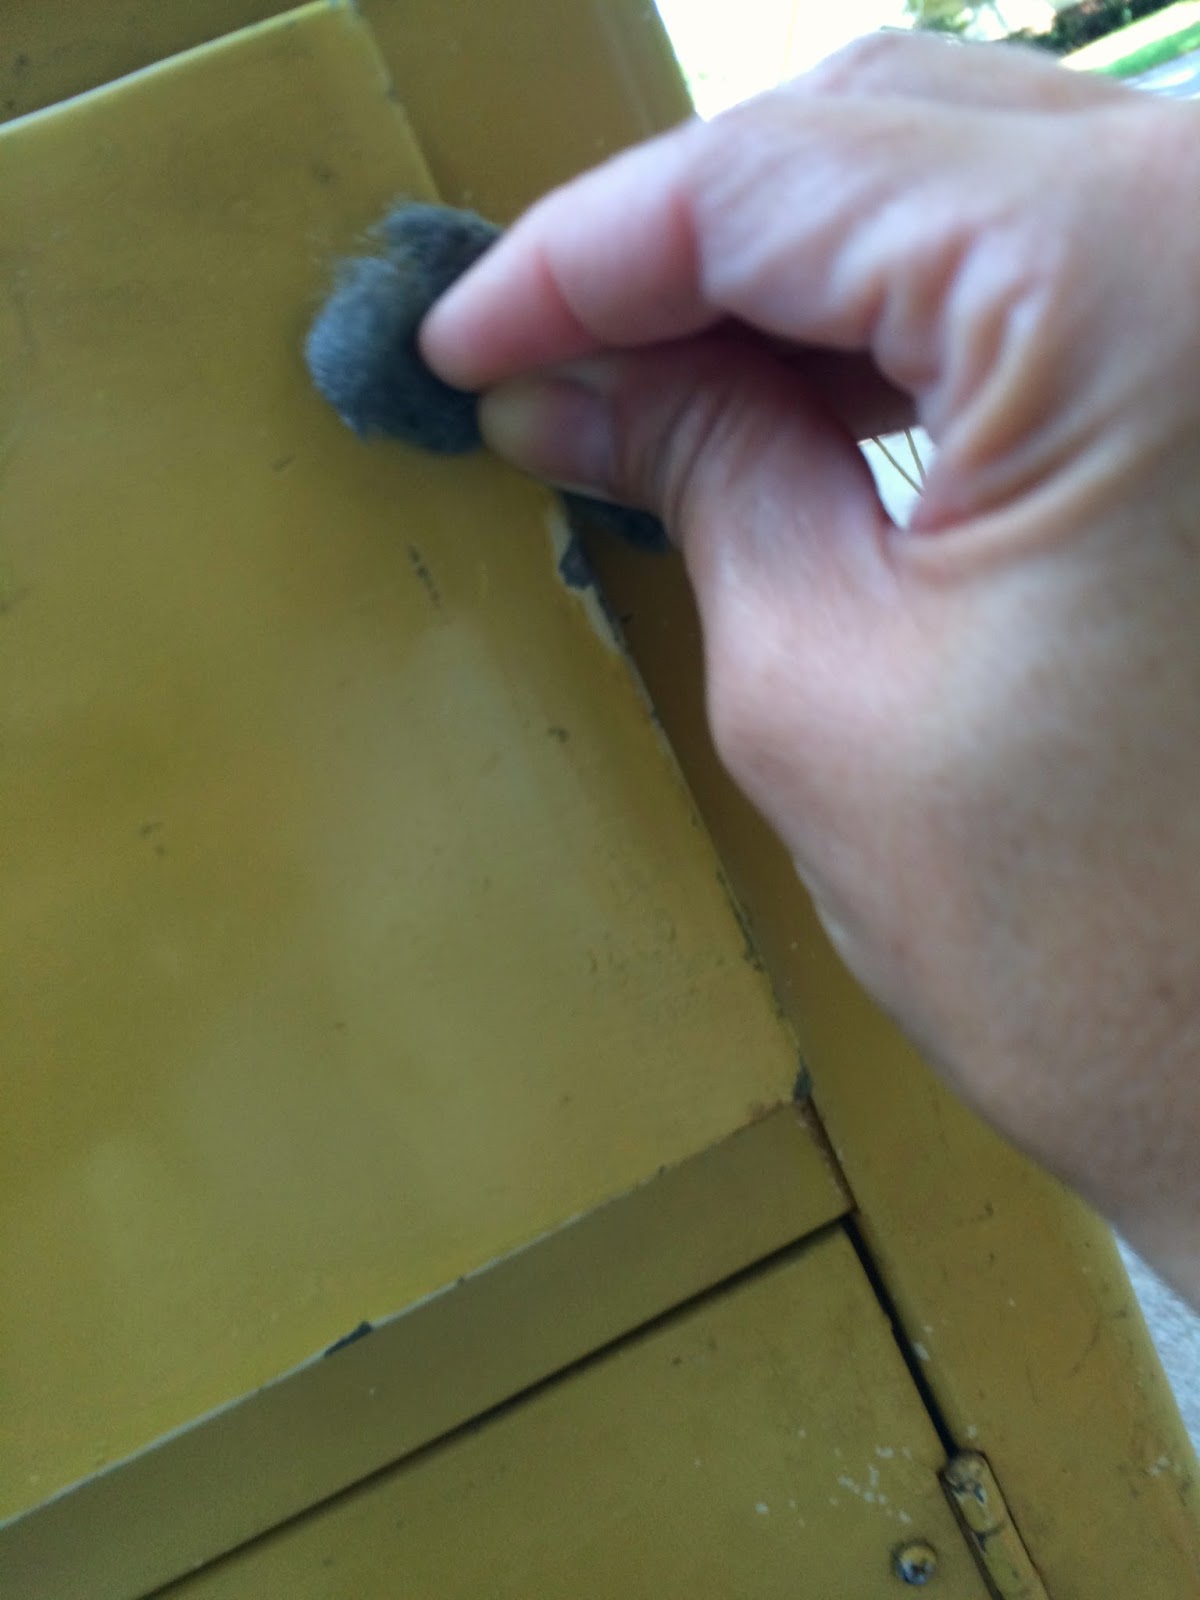
I used fine steel wool and scrubbed for hours! After that, I went over it with Clorox wipes and a clean rag.

   

This is the shelf from inside the cabinet. Yes, it's covered in rust and what I assume are paint can rings. This took some work!


I covered all the areas I didn't want painted in blue tape. The cabinet top is stainless steel and in excellent condition. The handles are stainless steel as well, but not in as great condition. There was a little rust here and there, but they buffed up nicely.


It was finally time to paint. I used Rust-Oleum in Eden. I wanted to give a nod to the era and Avocado green was the perfect choice. I also used a new tool This is a little nozzle that fits over the sprayer of the paint can and makes your live so much easier! And, I didn't walk around with a green paint finger for days.


And here is the final result! It is the perfect fit in my kitchen and the color is amazing! I am in love!


Now, this isn't what sold me on the piece, I loved it from the minute I spotted it, but there was a little sign was attached to the cabinet. It showed that Sarah Jessica Parker has the exact same cabinet in her bathroom! That's right, SJP and I have the same piece in our house. I love mine more, but they are equally beautiful. 

What do you think? To me, it's a little treasure! And it totally fits my interior style. Can't wait to see what my next piece might be! 

Tuesday, August 4, 2015

My DIY - The Bar Cart Continued....

 I've been working hard on the bar cart since coming back from vacation. When I last left you, I had removed the legs, removed as much of the rust as I could with steel wool, and painted them black. Since then, I've been busy on the shelves. It's really coming along.

Before I painted, I covered the handle with blue tape to keep it black and used fine steel wool on the shelves to remove more rust. There was a lot of rust on this cart. From there, I took Clorox wipes to clean off the steel wool remnants and to just clean the whole thing again before painting.


It was finally time to start painting! I covered everything as best I could with a drop cloth and used cardboard boxes for drying. I wanted to make sure the shelves didn't stick to the plastic while drying. Shelf number one.....


After two coats of paint on the top and bottom of each shelf, it was time to start putting this little guy back together. Thanks to my mom for coming to help! Without her, I would have never gotten it done. In all honesty, we could have used one more person to assist us, but with girl power we got it done! 

Presenting The Bar Cart.....


I have some touch up work to do and I still need to put the casters back on. I am in the process of cleaning those up and I might paint them black. I think it will really keep the whole thing sleek. I'm still thinking about how to mirror the back, but I've been told it doesn't really need it. I can't wait to put the finishing touches on this and get it all dressed up for the big reveal. 

What do you think of the progress so far? Is this something you would use in your home? Would it be an indoor or outdoor cart? I would love to hear your thoughts!

I'm currently looking for my next project. We are still working on the chair and getting closer to making the first cut! And I think I'm going to get started on painting my bedroom furniture. I really want to give our master bedroom an update. Can't wait for all these fall projects! 

Tuesday, July 14, 2015

My DIY - Bar Cart

  Does anyone remember this cart? I blogged about it a couple of weeks ago, but I hadn't really done anything with it. Between rain, windy days, and just no time, it sat all alone in my garage. I even packed it up and took it over to my parents house thinking I would get to it over there. Didn't happen. Then my son got this wild hair to spend the entire day on Sunday outside. That's right! It was 90+ and we spent the entire day outdoors. So what does one do after they've weeded the flower beds and hoed the garden? Work on a bar cart!


Here are the materials I'm planning to use on the cart.


I got to work on the legs. After consulting with my husband, we thought the best approach would be to take the legs off and work on each piece separately. Since I plan to spray paint the whole thing, it's best to do it in individual pieces than trying to cover up things and painting them by accident. The legs were attached by screws and nuts so I originally went at them with an adjustable wrench. Then my husband reminded me that he had a ratcheting screwdriver. Perfect! However, the nuts had rusted so it made it a little harder to remove. I was able to get four of the eight while Joel helped loosen the rest. Or should I say, I loosened them... Let's just say, I finally got it all removed.

  
The legs are now removed and looking rather rough around the edges. This little guy is full of rust, but in spots, not all over. I decided to see what a little fine grade steel wool would do. See for yourself. It made a world of difference. There are still specks of rust, but really hard to detect. And they would be fine, if I were going to leave them silver, but I'm not!

  
I painted them glossy black! Here's what I did. I took drop paint cloths and cardboard out in the yard and placed the legs a pretty decent width apart. I proceeded to spray lightly back and forth across each leg making sure it covered nicely without drips. Then I moved each leg so it wouldn't stick to the spot where I painted. I let it dry for several hours before I rotated each leg to spray on the other side. I will continue to do that until all sides are complete. 

I also sprayed the carts handle. I love, love, love the contrast against the yellow! Can you imagine what the red will look like? I'm thinking amazing! I plan to really cover the top to ensure no black paint gets on the yellow.
 

 Up next? Cleaning the shelves and prepping them for paint. And my dad and I have a game plan for the mirrored back. I honestly think this bar cart is going to be so chic! 

Stay tuned...

Tuesday, June 23, 2015

My DIY - Aluminum Rolling Cart

  So my elegant chair is still sitting in my parents foyer, but we have all the materials needed to begin re-upholstering it. It's just taking the plunge. I think my mom and I are nervous as hell to get started. Maybe we will be calling the professionals....

In the meantime, I'm excited to introduce you all to my newest estate find. My vintage 1950s aluminum rolling cart! Ain't she a beaut!?! There is a little rust here and there, but I'm going to get that all taken care of with a little light scrubbing. And, it needs a lot of cleaning. But I see so much potential!
 

Here's what I'm thinking. I'm going to paint the cart red! That's right, glossy red! And instead of leaving the legs and arm silver, I'm going to paint them glossy black. I need to replace the casters, it's in need of new ones, and I'm going to remove the plug-in. I love that it came with one! Nothing like keeping the appetizers warm during your dinner party! 


As Joel and I analyzed the cart, we've decided that it would be best to try and remove the legs and paint them first. I can't remove the handle, or the legs from the top shelf, but I can always cover the shelf while painting. Then I will move on to the shelves. I think it's going to look so sleek and chic when I'm done. 


Here are some of the materials I think I'm going to need. Fine steel wool to try and remove some of the rust and flaking paint. Clorox wipes to simply clean the whole thing. And of course paint! I'm going the spray paint route this time. I think it will cover better. If I went with a paint brush, I'm thinking you will see all the brush marks that it will leave behind. 


Lastly, I want to try and add a back to the cart. What do you think of a mirrored back? This way, you can display really pretty pieces that will reflect off the back of the cart. Now, it's time to figure out how to make that happen. I'm going to rely on my dad for that one!

I can't wait to get started on this one! Join me on the journey! I am loving this vintage recycling/upcycling! I think I need to find another estate sale and soon!