Showing posts with label find. Show all posts

Tuesday, June 23, 2015

My DIY - Aluminum Rolling Cart

  So my elegant chair is still sitting in my parents foyer, but we have all the materials needed to begin re-upholstering it. It's just taking the plunge. I think my mom and I are nervous as hell to get started. Maybe we will be calling the professionals....

In the meantime, I'm excited to introduce you all to my newest estate find. My vintage 1950s aluminum rolling cart! Ain't she a beaut!?! There is a little rust here and there, but I'm going to get that all taken care of with a little light scrubbing. And, it needs a lot of cleaning. But I see so much potential!
 

Here's what I'm thinking. I'm going to paint the cart red! That's right, glossy red! And instead of leaving the legs and arm silver, I'm going to paint them glossy black. I need to replace the casters, it's in need of new ones, and I'm going to remove the plug-in. I love that it came with one! Nothing like keeping the appetizers warm during your dinner party! 


As Joel and I analyzed the cart, we've decided that it would be best to try and remove the legs and paint them first. I can't remove the handle, or the legs from the top shelf, but I can always cover the shelf while painting. Then I will move on to the shelves. I think it's going to look so sleek and chic when I'm done. 


Here are some of the materials I think I'm going to need. Fine steel wool to try and remove some of the rust and flaking paint. Clorox wipes to simply clean the whole thing. And of course paint! I'm going the spray paint route this time. I think it will cover better. If I went with a paint brush, I'm thinking you will see all the brush marks that it will leave behind. 


Lastly, I want to try and add a back to the cart. What do you think of a mirrored back? This way, you can display really pretty pieces that will reflect off the back of the cart. Now, it's time to figure out how to make that happen. I'm going to rely on my dad for that one!

I can't wait to get started on this one! Join me on the journey! I am loving this vintage recycling/upcycling! I think I need to find another estate sale and soon!

Tuesday, June 16, 2015

My DIY - The Elegant Chair Journey Continues

As of last week, I had sanded the whole chair in hopes of removing any protectant coat that existed and to get the sheen off the whole chair. I also wanted to try and remove a little of the paint but not take it down to the bare wood. After everything was sanded, I ran tack cloth over the whole chair to remove any dust particles and other remnants from the dusting. Now it's time to start removing all staples and tacks from the chair. This took two days!!


I didn't have the appropriate tools for the job so I used a screwdriver and a pair of pliers. They worked, but I could have really used the correct tools. On a beautiful afternoon, I took the chair outside to our back patio and started prying staples loose with the screwdriver and pulling them out with the pliers as McKinley played in the garden. I pulled screws out for about an hour and a half, making sure to keep the fabric free of rips. You need to keep all pieces of the chair as you remove them. They will be your template when re-upholstering later. I even took pictures during every step so I could reference them as well. Eventually, McKinley grew weary of my work. I decided to call it quits for the day. In that time, I had removed the entire bottom of the chairs upholstery and all the staples and tacks. I felt good about the progress.


This is the bottom of the chair. 


These are the original springs. Each one is wrapped in muslin and in perfect condition. (Even McKinley wanted to get in on the action!)


I then took the chair over to my parents house a couple of days later to continue the process. Turns out, my mom had all the right tools for me to use, but because the staples were so small, it didn't really work all that well. I really needed a smaller head screwdriver, but I continued to plug along. On that day, I pulled all the staples and tacks from the remainder of the chair, but I had the entire interior of the seat of staples to pull. I sweet talked my dad into assisting me and he spent the rest of the evening finishing the dirty work! My finger pads were raw and my hands were cramping. It's really hard work. And, I worked up a lather of sweat both days. It doesn't appear like hard work, but let me tell you, it is! 


So now I have a bare chair that's in need of color! Time to start painting. The chair has now made it's way back to my house and has taken up shop in my garage. After the first coat of paint, I was in love! And I got wise. No more crawling around on the garage floor trying to get all the angles of the chair. I decided to put it on a table. A wise move let me tell ya! After the second coat of paint, I realized it was definitely going to need a third. But, I decided not to apply the third coat to the entire chair. Just the arms and legs since they would be the ones visible post re-upholstery. And it's gorgeous! Glossy, jet black, and totally renewed! I am in love!


Now it's time to start the upholstery and I'm terrified! My mom is the expert here, so I'm going to lean on her for guidance! We have the fabric, this amazing floral print that's unbelievably stunning (in my personal opinion), and we have plenty to play around with. It was pretty cut up when we took it to the cutting counter so we decided to just buy what they had. It was 50% off that day, and I had an additional coupon, so we got a great deal! We just need to lay out the fabric and decide where we want to place it on the chair and cut for optimal floral placement. This could take a while!


I will keep you posted on how things are going and take pics along the way of the upholstery. Not sure how this will go, but so excited to get started. My husband had no idea that I was going to tackle the actual upholstery work myself. He figured I would have it sent off. And I might, if this thing gets too big for us. But, I'm hoping that I can finish what I've started. And I hope it looks as professional as possible. Fingers crossed!

In the meantime, I'm now the proud owner of a vintage aluminum rolling cart. It's bright yellow and in awesome shape. I'm thinking bar cart! Can't wait to get started on that too and share it all with you.

Are you guys working on anything this summer? If so, let's chat. I love hearing about your DIY projects!!

Tuesday, June 9, 2015

My DIY - The Elegant Chair

A little over a month ago, I hosted a garage sale to rid my house, and my life, of stuff. And believe me, have stuff. On that Friday morning, I looked out my window to see cars lined up outside our house. I thought gold mine! Everyone was here for my garage sale. Then I walked outside. The people in cars, and people outside, were lining up for the estate sale that was taking place next door. Okay, so they weren't here for me, but I didn't reap the benefits of their sale. As folks were heading there, or heading out, they always stopped by and eventually I was down to nothing by Saturday afternoon. I was a happy garage sale hostess!

But the downfall of the estate sale next door was that my mom and I shopped....a lot! She purchased mostly glassware and I walked away with a 1960s arm chair. And a dress. The dress is simply amazing. Definitely Rachel Zoe inspired, in my mind, and it's at alterations now. Can't wait to sport it soon and share this vintage gown. Did I mention it's a gown? Back to the chair. After spotting the dress, I spotted the chair. It was sitting there among all the clutter that goes with estate sales, but it definitely caught my eye! And I knew it wouldn't stay its current state. It would be transformed to this stunning piece of furniture that I would eventually sell. I got the chair the for half off. I waited until the final sale day to purchase. If the chair was still there, it was meant to be. And, on Sunday, everything was 50% off. And after much thinking, and conspiring with my mom and what I could do with the chair, we rearranged my house in order to make it fit. That's right, I am keeping the chair!

Here is my chair! My dad calls it my "elegant chair" and I think he's right. I've got big plans for this piece. I only hope it turns out like I think it will in my head. 


 And here are some of my early supplies. Fine sandpaper, fine steel wool (in case I need to go over it again once I've sanded), and my awesome paint color with a new brush. Not pictured, tack cloth. I asked my dad what was the best method to remove dust from the chair post sanding and he said this was the best stuff. It's tacky and it totally did the trick.


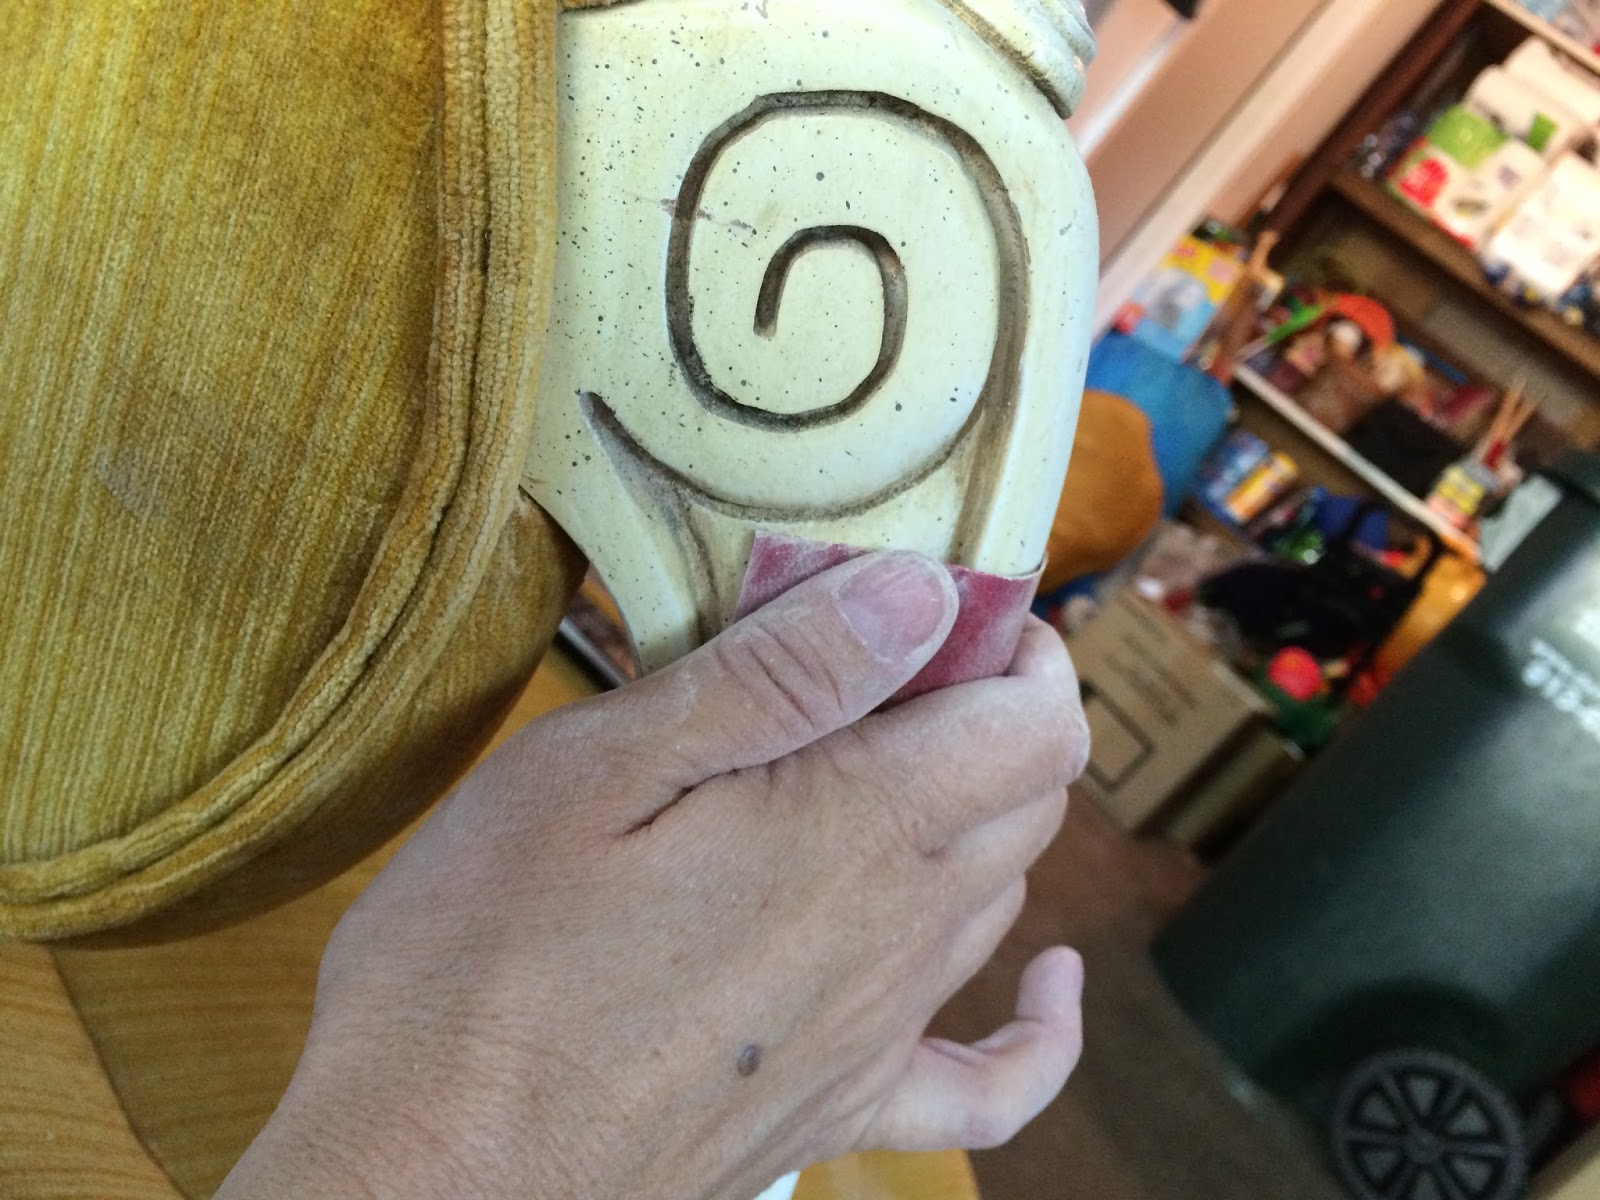
Here are some small details about the chair. It contains a ton of little grooves that needed sanding and were hard to get to. Imagine trying to paint them! Rough...no pun intended. 


So I just got to sanding. I didn't want to take it down to the raw wood. I just wanted to get the sheen off of the original paint. In the end, it was never super rough. There was a little smoothness to the wood. I wasn't sure I could ever get it off.


So I've sanded. And I've sanded and I've sanded. I've been covered in dust, in need of a manicure, and loving every moment spent working on this piece! Now it's time to start removing all the upholstery from the chair. Dear God, the staples and tacks that are involved.... Can't wait to share it all with you!

Stay tuned. Next week the elegant chair journey continues!