Showing posts with label DIY. Show all posts

Wednesday, June 1, 2016

My DIY - The Silver Glitter Oxfords

Do you remember these? I started talking about them back in early May, or possibly even April, and I did work on them. And once completed, it never stopped raining. I was never going to attempt wearing them in rain, considering the paint peeled, in sunshine, when just walking around. 


So I had the idea to glitter them in hopes of being able to wear them after three years of having them hide under the bed. And I followed the format I used when creating the glitter tennis shoes from Honestly...WTF. 

Here's What You'll Need:
Old Oxfords, A bowl for mixing, Mod Podge for Fabric, Coarse Glitter, Sponge Brushes, Blue Tape


I started by prepping the shoes. I removed the tassels from the oxfords. (And note the coffee mug. If you're doing this in the morning, you might need to add coffee to your "What You Need" list.)


Then I started taping off the areas of the shoes that I didn't want covered in glitter. You don't have to use blue tape. It's just what I had on hand.


Then it was time to start mixing. I started with the glue and added a couple of spoon fulls. Then I added the glitter. I mixed until all the glitter was combined and then assessed the amount. I added more glitter then mixed again until I got the consistency I wanted. Since I knew I wanted to really coat the shoes in glitter, I added way more glitter than glue.


From there, I started applying the glue concoction to both shoes. I let that dry completely and applied another. I applied another two coats after that, equaling four coats total.  I probably could have gotten away with three, but I added one more for good measure. (Note: It looks like a lot of glue right now and very little glitter. I promise, once the glue starts drying, all you can see is the glitter.)


And here they are!! The completed Oxfords! Obviously, I removed all the blue tape and added the tassels back on. I just figured I didn't really need to photograph those steps. That would be like watching these shoes dry....


I adore how they turned out! And the glitter/glue held up! I wore these all day yesterday and I even grocery shopped in them. You know that's a lot of walking around! I can't wait to get a full on outfit pic with them! 


What do you think? Would you make silver glitter oxfords? Let alone wear them? They just make a look pop! And, you definitely shine while wearing them!

Monday, May 9, 2016

DIY Preview......

Good Morning and Happy Monday! I hope you all had a wonderful weekend. I know I did. We were busy enjoying the gorgeous weather on Saturday and spent a fabulous Mother's Day together. Just the weekend anyone could hope for.

So here we are on another Monday morning and I'm bringing you a little DIY preview. I was hoping to work on these last week, I even made a trip to Michael's to get all of my supplies, but when I got home I couldn't find my Mod Podge! So bummed! So instead of blogging about a completed project, I thought I would show you what I hope to do! 

Do you remember these shoes? I worked on them back in 2013, and I loved how they turned out, but they didn't stand the test of time....or walking! After all the primer, paint, and sealer, the paint still peeled off after the first couple of steps.


If you look closely, you can see the crease marks. I was so disappointed. And I apparently put them under the bed and forgot about them. How do I know they were under the bed? I found them just the other day. And I still loved them, but knew I just couldn't wear them in the condition they were in. So, I had an idea.....


Let's throw some silver glitter on them! Okay, I won't just throw glitter on them, I will paint glitter on them using the method from the glitter tennis shoes I replicated from Honestly....WTF tutorial in 2012! I think it could totally work. Fingers crossed! 

Hoping to get these little guys finished by the end of the week, but we all know how the best laid plans can go..... It could be next month! 

See you back here tomorrow!

Tuesday, May 3, 2016

Butterflies Are Free to Fly.....

Jacket: My DIY (field jacket here); Top: LC Lauren Conrad (similar); Jeans: Loft;
Sandals: Marc Fisher via DSW; Handbag/Shades/Jewelry: Stella & Dot;
Nail Polish: 5th Ave Essie

This jacket! Let's just talk about this jacket. I'm obsessed with how this turned out!  Do you remember when I blogged about making it? Well, I finished it that week and I've worn almost daily since then. My mom photographed the first wearing, but from the angle of the camera, my head was bigger than my body! Not a flattering look. And, every time I've worn it since then, I simply haven't had a chance to take blog pics. Life is crazy and April was insane! Just trust me, and anyone who's come in contact with me over the last month, when I tell you that this jacket is like my second skin. Second skin to that linen tee from Target! (Which I wear under this jacket almost every wearing!)

 My other obsession these days are these jeans! I'm not sure if anyone else is embracing the high-waisted jean craze, but this girl is! I wasn't so sure upon my first wearing, but I assure you, I wear them just as often as I wear the linen tee and jacket! They are super comfy, the perfect length of all of my booties and sandals, and I think pretty flattering. I wish I owned about ten pairs! I love them that much! This whole look screams what I'm living in and living for in my every day fashion. If this is how a mama dresses, then I'm totally on trend!


I'm working on a few more fashion related DIY projects and I can't wait to share the how-tos and stylings with you! I love up-cycling a piece that I haven't worn in ages! And, it's simply fun to do!

We are off for a mama and McKinley day! We haven't had one for a while. Looking forward to a day at Crown Center. Who knows what trouble we can get into on a Tuesday.

See you back here tomorrow!

Thursday, March 24, 2016

DIY Fashion: Butterfly Embellished Field Jacket

As I mentioned in yesterday's post, I'm really trying to change things up on the blog and add some additional content. I love DIY projects, whether it's fashion or home interior, and I want to try and integrate it again.  

Over the holidays, when Hallmark Channel was once again available on U-Verse, I found myself sucked into all the holiday movies. And one morning, while McKinley was in school, I flipped over to find a sweet talk show called Home and Family. I was immediately hooked! I loved everything about the show and found myself drawn to Orly Shani and all of her amazing DIY fashion.

If I couldn't watch the show, I would watch the first five minutes to see if she was going to be on that mornings episode, and record it if she was. I didn't want to miss a minute of what she might be creating. And here we are in March, and I'm still watching and learning from everyone involved. Side note; I love Debbie Matenopoulos as well!

So just last week, Orly had these amazing embroidered jackets with beautiful floral designs and the most colorful butterflies. It turns out, Valentino created an embroidered butterfly camo jacket that I'm sure retails for thousands of dollars! Orly recreated one, using a vintage camo jacket, with butterfly applique iron-ons! Brilliant! I can totally do that. And I did!

Here's what you'll need:
A Camo Jacket (I used a Field Jacket)
Butterfly Iron-Ons in various sizes and colors that compliment
An Iron
An Ironing Board
Needle and Thread (optional)  

So here is my field jacket and some of the butterflies I chose. I went with large ones and small ones to create balance throughout the jacket. 


From there, I placed butterflies all over the jacket, in random patterns, mixing the large and small with colors that complimented one another.


After I created the pattern I wanted, I went back and pinned all the butterflies into place. You don't want to lose them all when you pick it up to move it to the ironing board. (You could create your design on the ironing board, but I went the hard route I guess....)


Then it was time to start ironing. Make sure you follow the simple instructions on the back of the applique. It's super simple. Just heat a dry iron to the hottest setting, place a thin towel between the applique and iron, and press down for about 10-15 seconds. If you aren't sure of the applique is sticking, simple lift a small corner to test. If it's not, continue to run the iron over the applique. After it's adhered to the fabric, turn the jacket over and iron it from the underside. Do the same thing you did to the front of the jacket. Do this for each individual butterfly.

Ironing Tip: Make sure to remove the pin before you run the iron over the applique.


Once all butterflies, or appliques, have been ironed into place, you may want to go back and tack down the corners to ensure they don't pull away. This last step is completely optional, but since I added a few to the shoulder, I thought my handbag might rub and cause the corners to pull away. I had my mom help, we took turns stitching butterflies, and we tacked down each corner with two stitches per corner. And we've decided, if anything does start to pull over time, we will simply use fabric glue to re-adhere.


This is one of the cutest things I've recreated in a long time and I can't wait to style it!! And, I can't wait to hear your thoughts. Will this be something you will try to make? Would you use different iron-on appliques?

Wednesday, October 21, 2015

Me and SJP

My mom and I are big antique shoppers and recently we've have added estate sales to the mix. McKinley enjoys it too. He just hopes there will be trucks for sale and he's been on the receiving end of quite a few! 

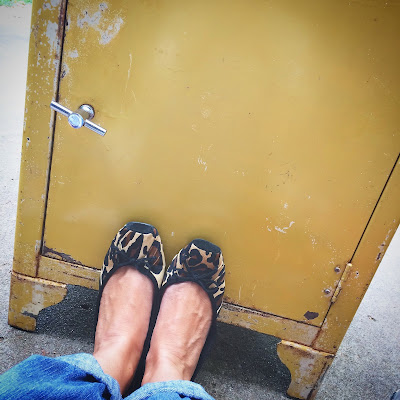
On a recent antique shopping spree, my mom and I stumbled on this beauty! So what if it's covered in rust and has chipped paint throughout most of the surface? I knew it would be something gorgeous in the end! And I was right! It took some elbow grease to achieve, but it was totally worth all the work!


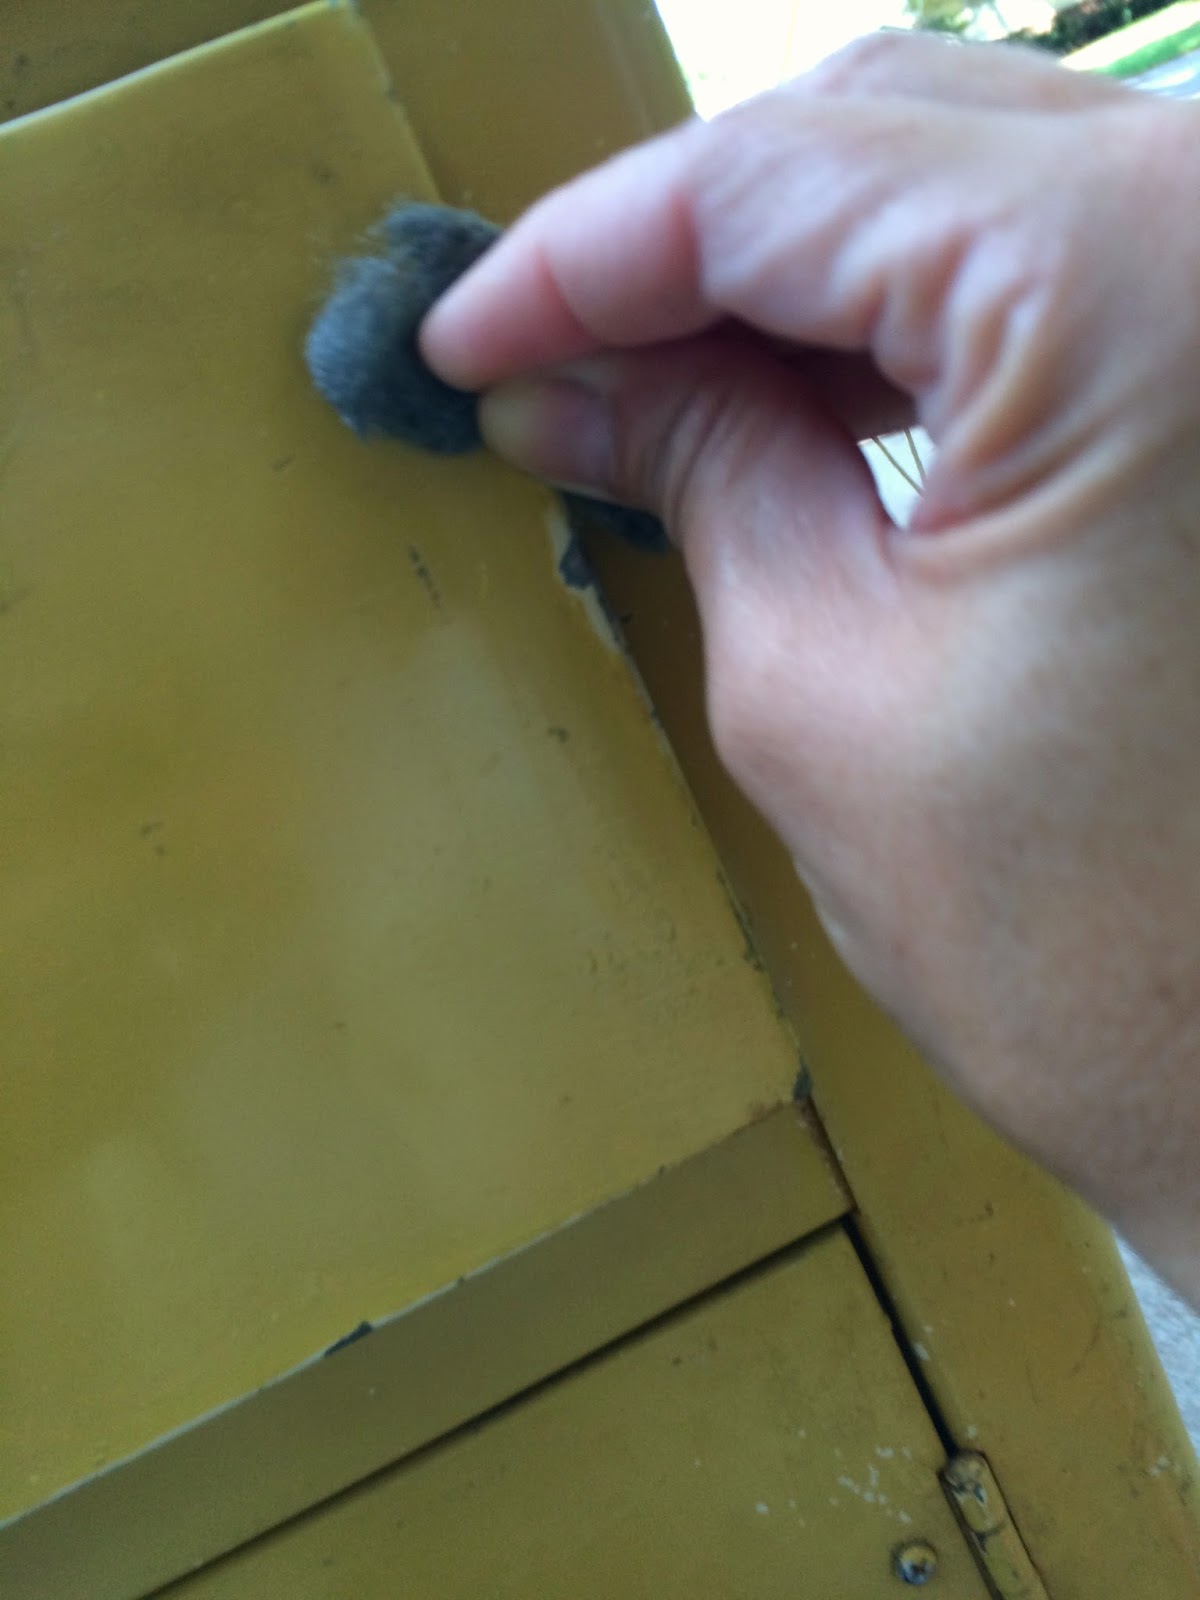
I used fine steel wool and scrubbed for hours! After that, I went over it with Clorox wipes and a clean rag.


This is the shelf from inside the cabinet. Yes, it's covered in rust and what I assume are paint can rings. This took some work!


I covered all the areas I didn't want painted in blue tape. The cabinet top is stainless steel and in excellent condition. The handles are stainless steel as well, but not in as great condition. There was a little rust here and there, but they buffed up nicely.


It was finally time to paint. I used Rust-Oleum in Eden. I wanted to give a nod to the era and Avocado green was the perfect choice. I also used a new tool This is a little nozzle that fits over the sprayer of the paint can and makes your live so much easier! And, I didn't walk around with a green paint finger for days.


And here is the final result! It is the perfect fit in my kitchen and the color is amazing! I am in love!


Now, this isn't what sold me on the piece, I loved it from the minute I spotted it, but there was a little sign was attached to the cabinet. It showed that Sarah Jessica Parker has the exact same cabinet in her bathroom! That's right, SJP and I have the same piece in our house. I love mine more, but they are equally beautiful. 

What do you think? To me, it's a little treasure! And it totally fits my interior style. Can't wait to see what my next piece might be! 

Tuesday, September 29, 2015

My DIY - The Vintage Hand


Years ago I was a young entrepreneur who had her own jewelry business. I designed, made, and sold my own pieces. I rented booth space for two years at the annual Overland Park Arts and Crafts Fair, I sent out monthly newsletters to my customers, held home parties, and consigned pieces with two boutiques. After several years of sporadic sales, and becoming a repair shop for pieces that weren't mine, I decided to close shop. I loved it and wanted to to become so much more, but in reality, I just didn't have the man power (or funds) to grow it.

My booth decor was very vintage inspired. I hung pieces from antique jewelry boxes, wrought iron stands, and this vintage ceramic hand. It was one of my favorites and my rings looked darling dangling from the funky piece. It's actually one of the only pieces I kept. I've tried incorporating into my bedroom several times, but the white and pink dots just simply clashed. Then I got the brilliant idea to paint it gold! Where this idea was five years ago is beyond me!

So ran to Michael's and picked up a couple of tiny cans of gold spray paint and got to work. 


At first I was worried about the polka dots. They're raised so I thought I might take sandpaper and try to sand them down. But then I feared I would completely ruin the piece. So I painted right over them. The result, cute! I don't mind the dots and they aren't nearly as distracting as I thought they would be. I love it! It took two coats and a thorough exam to make sure all the white had been covered. In between the fingers was where I found most of my missed areas.


I love how it looks with all my other pieces on my dresser. It really does compliment the rest of the decor. And I love how it showcases some of my favorite rings!


I love that paint is such a simple way to turn nothing into something! A piece I almost parted with, because I couldn't make it work in it's original state, gets a little face lift while adding a sophistication to my dresser. 

Are there pieces in your home that you've looked at time and time again and thought it needed a little upgrade? Share with us what it was and how you made it new again. I love breathing new life into tired things. 

And I promise, we're still working on the chair. It's slow going when you only get a day here or three hours there. I hope to have it completed by the end of the year. As for the bar? I have a few finishing touches to add and will be sharing it with you all soon!

Tuesday, August 4, 2015

My DIY - The Bar Cart Continued....

 I've been working hard on the bar cart since coming back from vacation. When I last left you, I had removed the legs, removed as much of the rust as I could with steel wool, and painted them black. Since then, I've been busy on the shelves. It's really coming along.

Before I painted, I covered the handle with blue tape to keep it black and used fine steel wool on the shelves to remove more rust. There was a lot of rust on this cart. From there, I took Clorox wipes to clean off the steel wool remnants and to just clean the whole thing again before painting.


It was finally time to start painting! I covered everything as best I could with a drop cloth and used cardboard boxes for drying. I wanted to make sure the shelves didn't stick to the plastic while drying. Shelf number one.....


After two coats of paint on the top and bottom of each shelf, it was time to start putting this little guy back together. Thanks to my mom for coming to help! Without her, I would have never gotten it done. In all honesty, we could have used one more person to assist us, but with girl power we got it done! 

Presenting The Bar Cart.....


I have some touch up work to do and I still need to put the casters back on. I am in the process of cleaning those up and I might paint them black. I think it will really keep the whole thing sleek. I'm still thinking about how to mirror the back, but I've been told it doesn't really need it. I can't wait to put the finishing touches on this and get it all dressed up for the big reveal. 

What do you think of the progress so far? Is this something you would use in your home? Would it be an indoor or outdoor cart? I would love to hear your thoughts!

I'm currently looking for my next project. We are still working on the chair and getting closer to making the first cut! And I think I'm going to get started on painting my bedroom furniture. I really want to give our master bedroom an update. Can't wait for all these fall projects!